Terraform is to automate infrastructure process
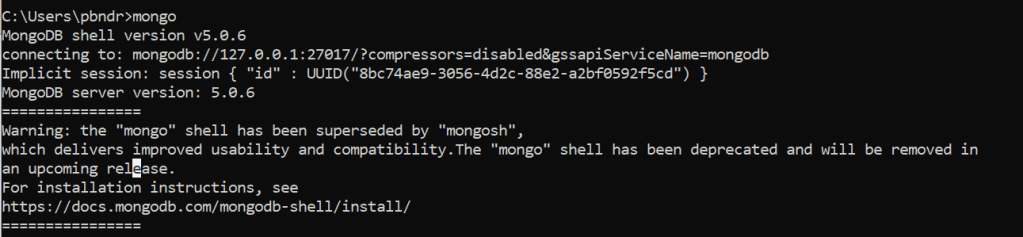
I am using VSCode to write terraform code
once you created the terraform files,
inititalise the code
run terraform init – which will create working directory and install all plugins and modules
run terraform plan – will preivew changes before applying them
run terraform apply – which will apply all the changes
Now you will see in console
+ shows creating respource
– deleting resouce
~ modifying resouce
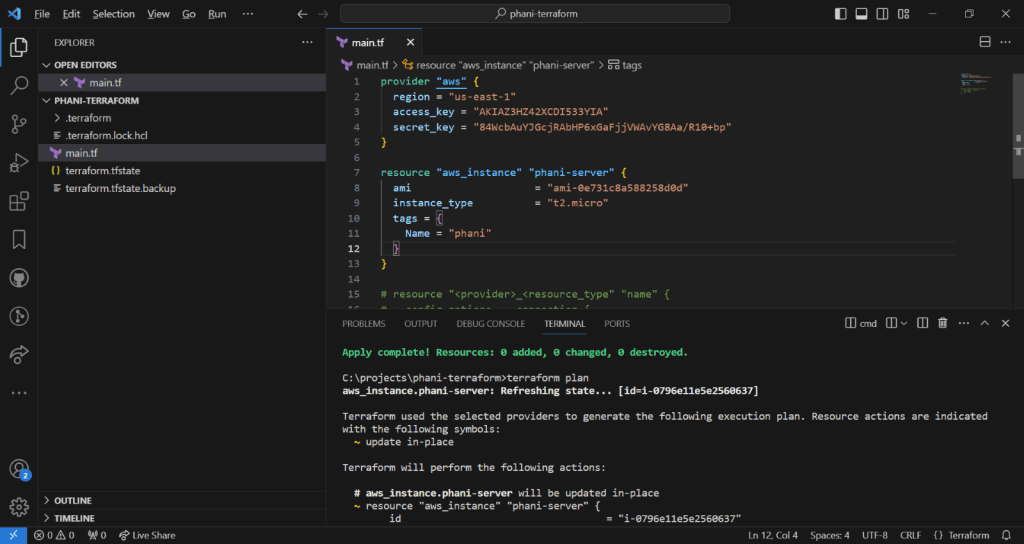
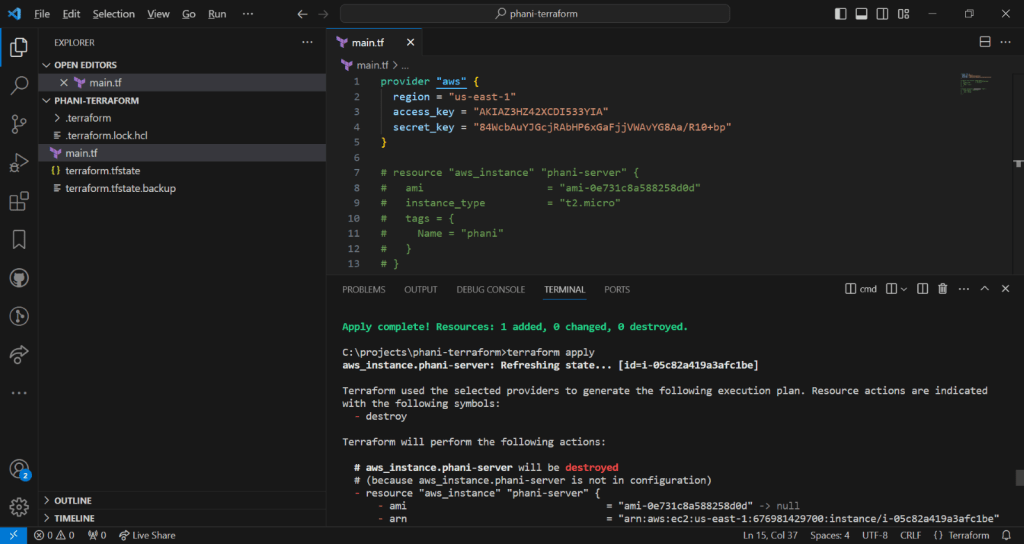
now run terraform apply it says refreshing
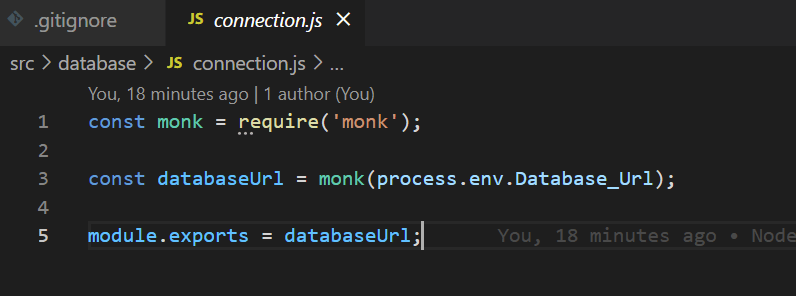
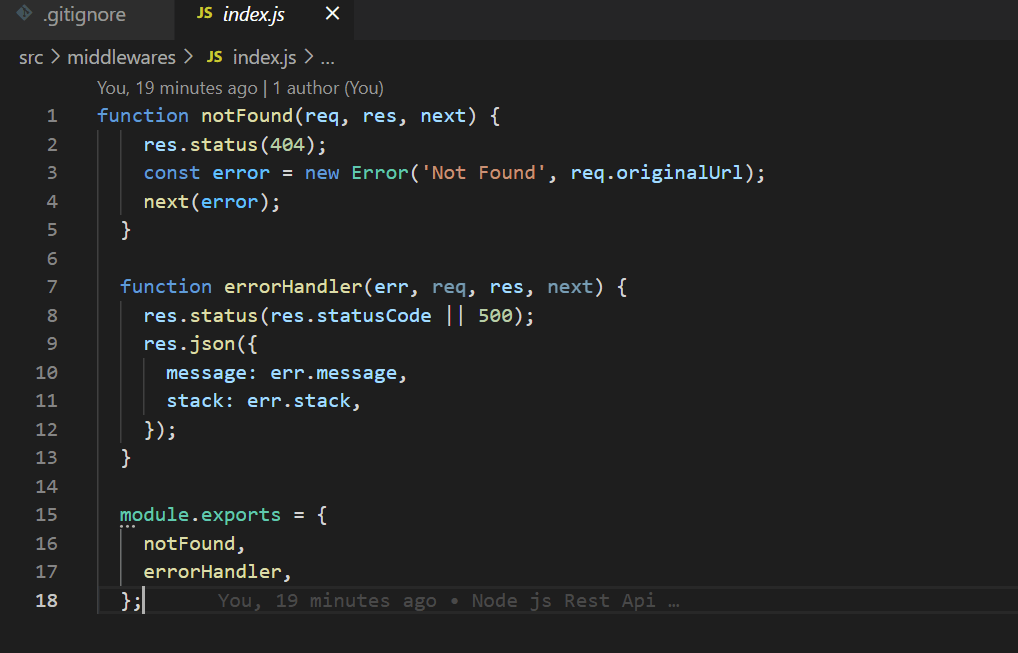
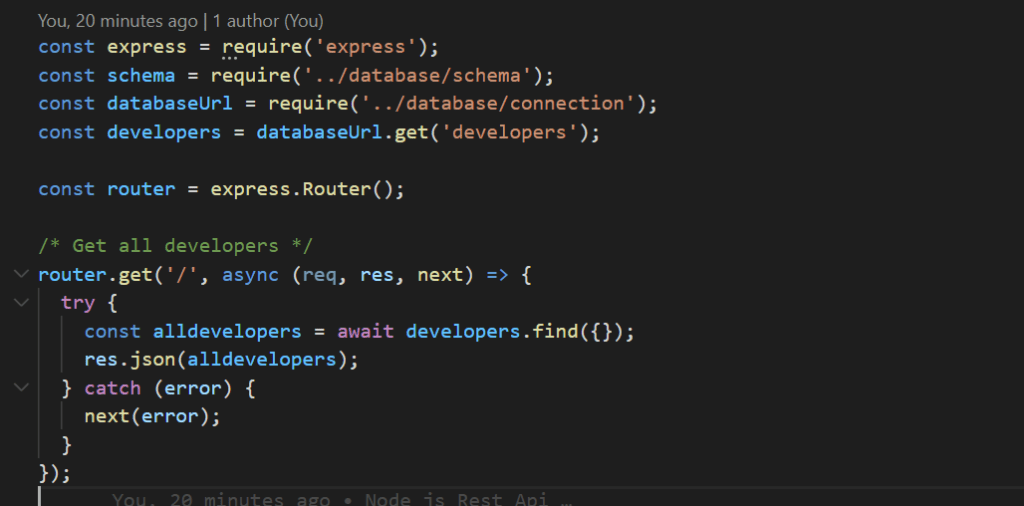
i will show codebase .
a provider needs to be created which can be aws or azure
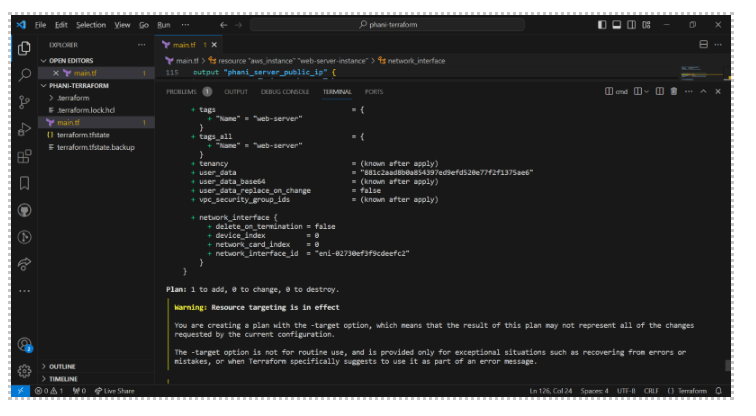
i want to create aws instance and modify that instance by adding tag
tags = {
  Name = "phani"
}
Now run terraform apply, you can see update in place with tild symbol
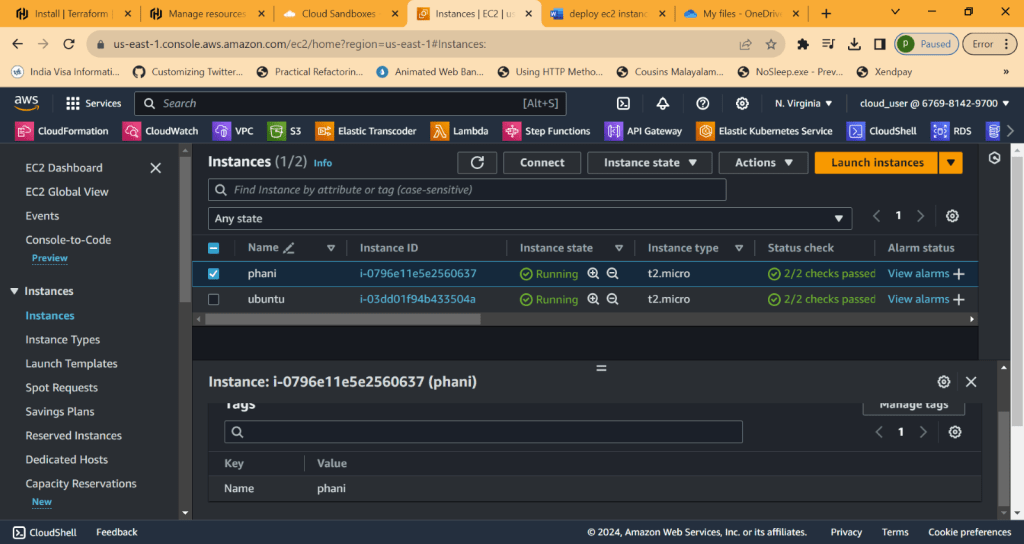
Now go to AWS and check it
Now lets desroy, phani-server resouce is going to destroy
Terraform destroy
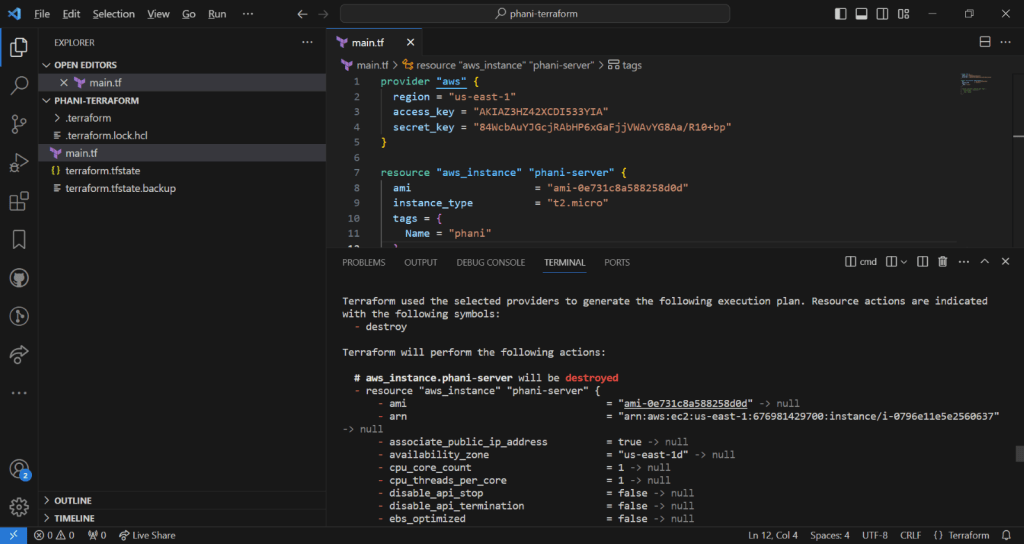
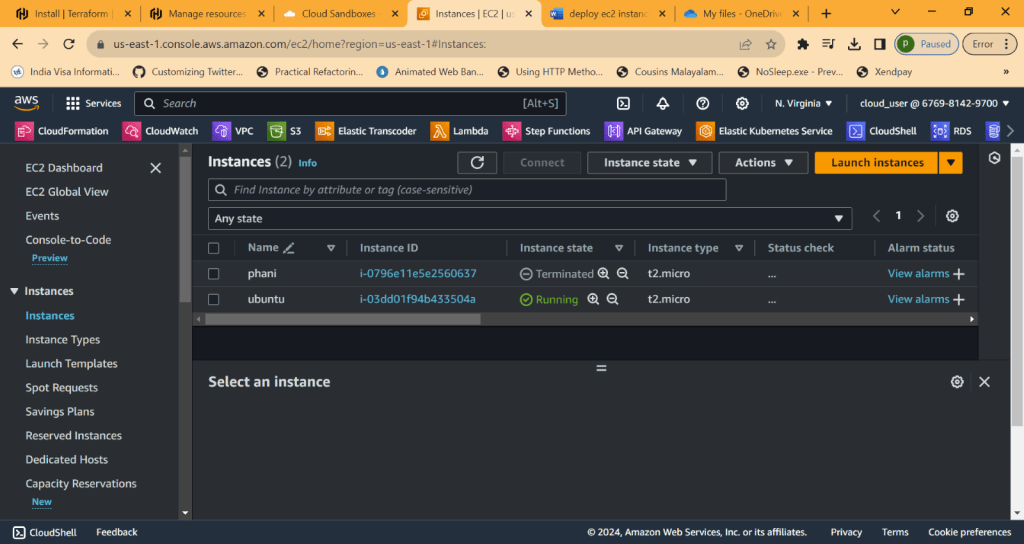
Now its terminated
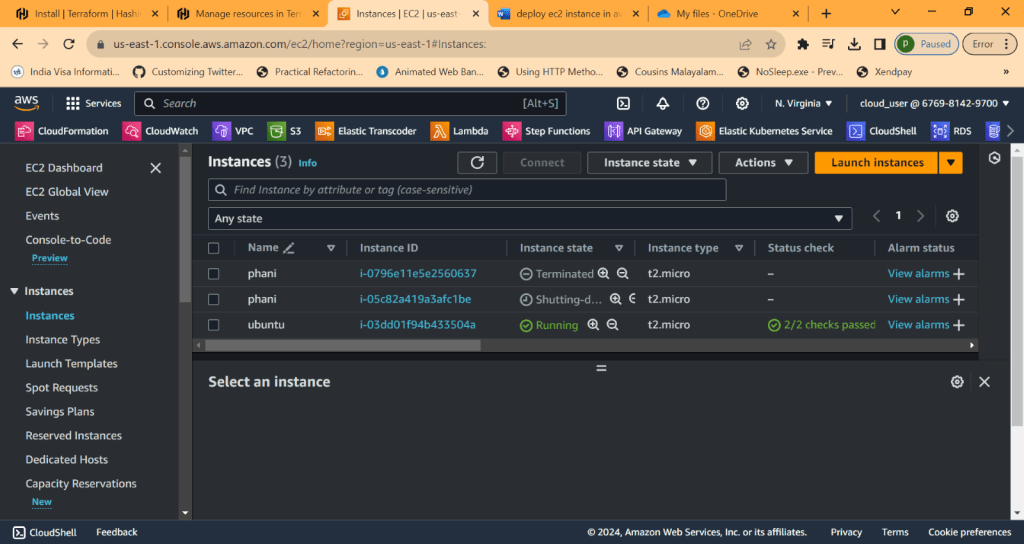
Now terraform apply again, which will deploy resource . created new one which shows as running. old one will be terminated

Now if you comment code in resource, terraform is intelligent enough to understand there are no rsources
It will destroy

Unitl now we done deploying aws instances
Lets see other resources
Now lets create subnet in vpc
To quickly check it,
Type terraform aws subnet in google
for subnet, we need to get vpc id. Terrform is intelligent to get it when typing
vpc_id = aws_vpc.phani_vpc.id
Now run terraform apply and see all changes applied
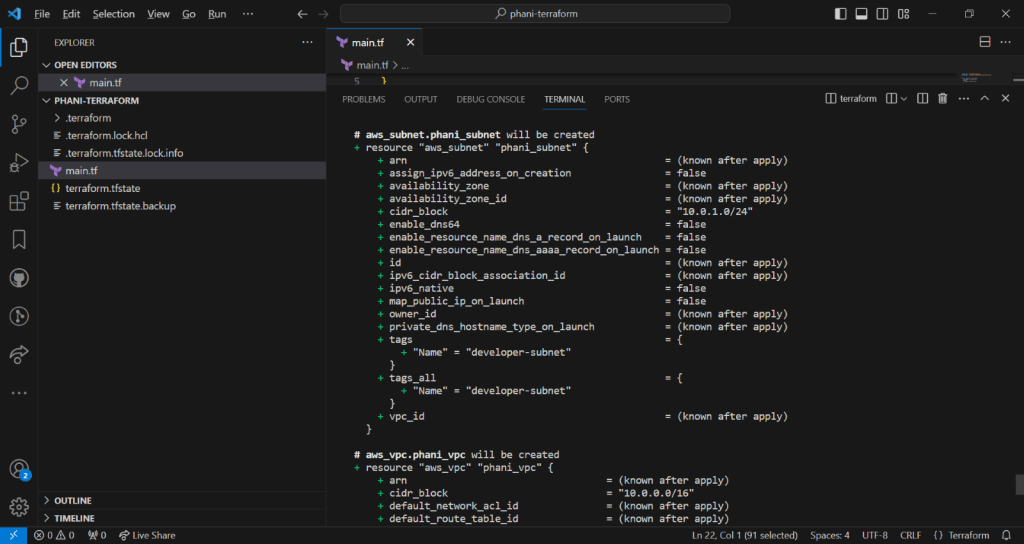
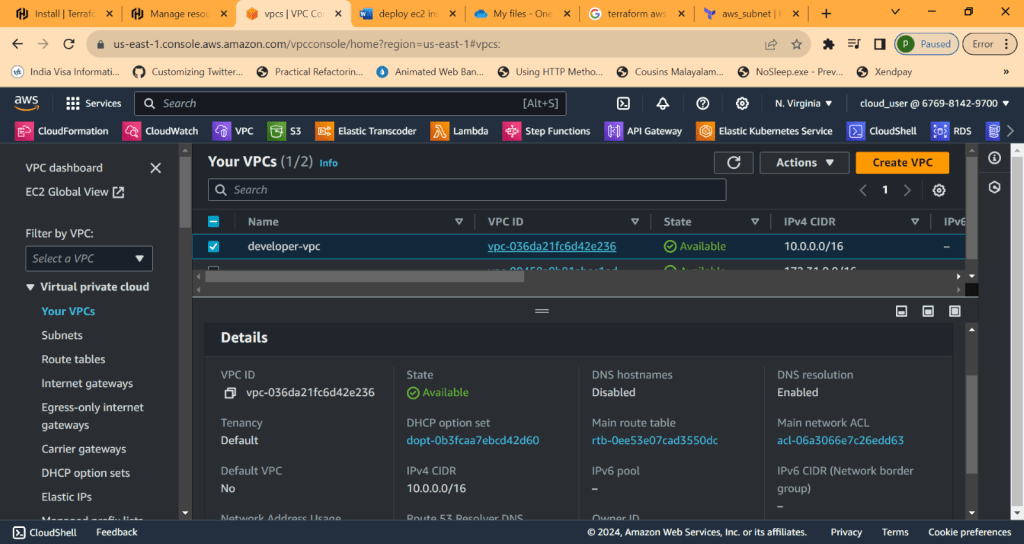
Now you can see aws subnet and aws vpc created
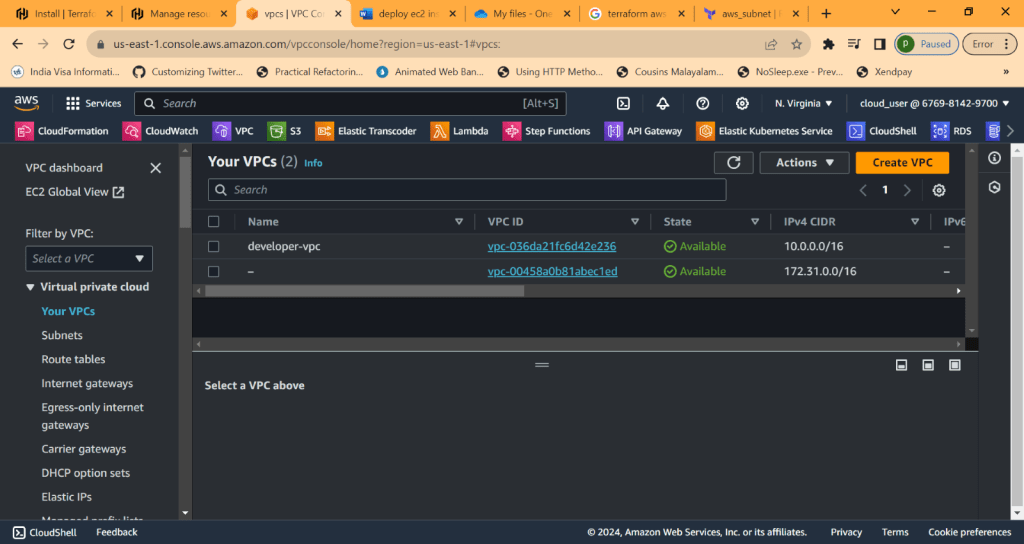
we can see cider block
Now lets go to subnet

There are default subnets created
Lets see one created and you can seee vpc this subnet resides in
And cider block 10.0.1.0/24
Also the order doesnt matter in code, you can create resource subnet first and then vpc. Terraform doesnt care about that

Form console you can see code is writtern as subnet first and vpc later ,
In console, terraform creats vpc first and subnet later
Note: after terrfaorm apply, we dont need to do yes all tht time. To overcome that just use
terraform apply –auto-approve
Now lets do small project. please check the code
1. Create VPC
2. Create Internet Gateway
3. Create route table
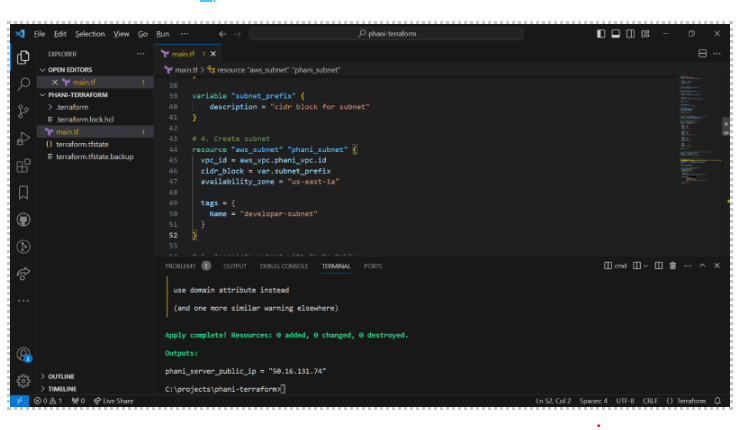
4. Create subnet
5. Associate subnet with Route table
6. Create security group to allow port 22, 80, 443
7. create a network interface with an ip in the subnet that was created in step 4
8. Assign an elastic IP to the network interface crated in step 7
9. Cretae ubuntu server and install/enable apache2
Code can be found in my github
https://github.com/pbndru/Phani-Terraform/blob/main/main.tf
Before running the code, you need to set 2 things access_key and secret_key where you can find them in your AWS account security credentials. create new access key from here. save the keys somewhere. Later it will be difficult to get it
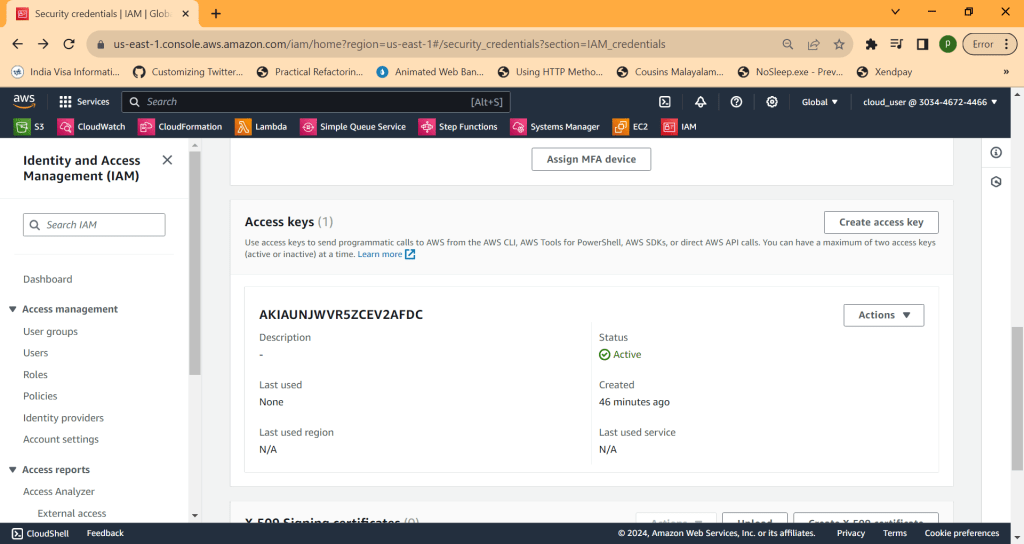
provider "aws" {
 region = "us-east-1"
 access_key = "" //set these values
 secret_key = ""
}
And you need to create key pair. go to EC2 Instances and go to key pair and create one. here i created main-key for webserver instance. it will be created with pem file. we need this file later

key_name = "main-key"
Now run terraform apply, it will create all resources in aws
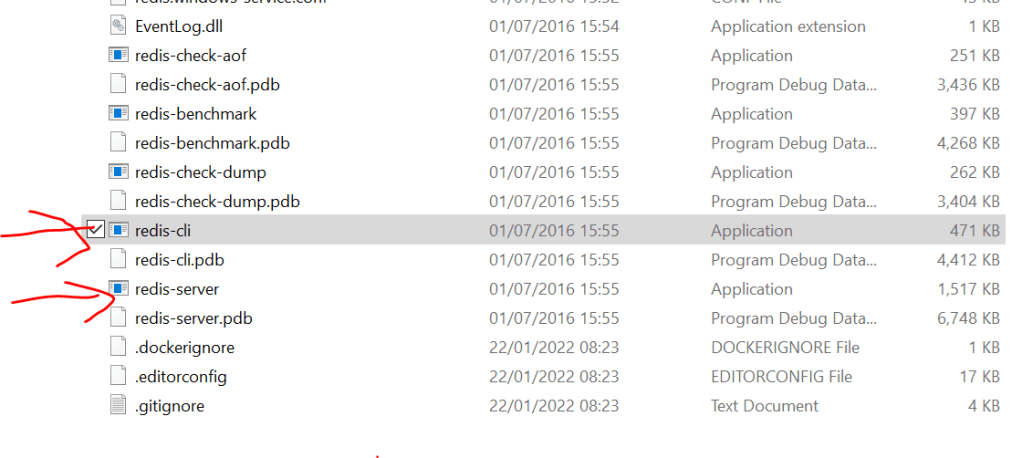
Now lets use putty and putty gen. please download these. we need these for connections to webserver with different protocols
open putty gen
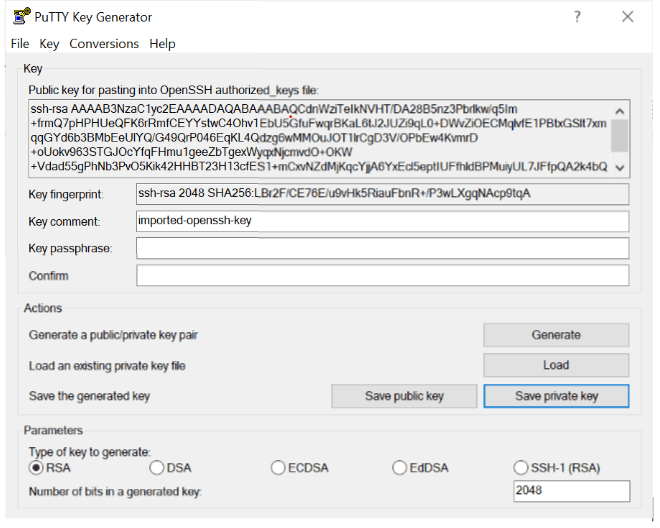
Load the main-key.pem file created before and save private key to pkf file format
Now open putty
We need pem files for mac and ppk files for windows
Open putty and add host as ubuntu@ipaddress
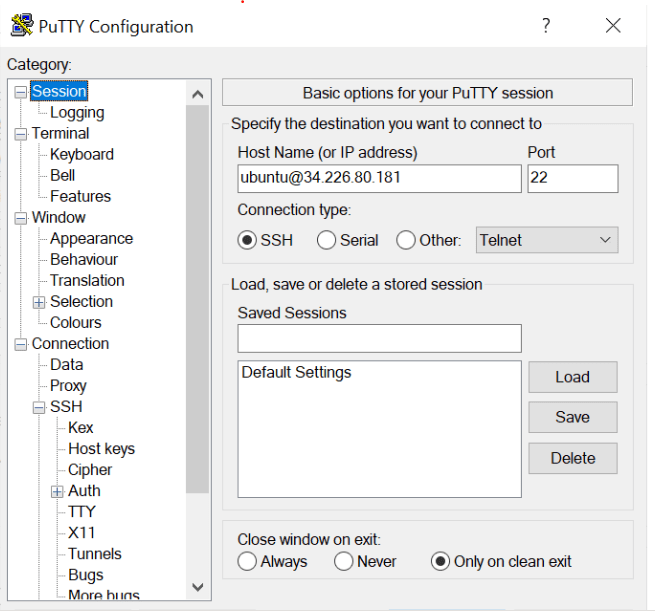
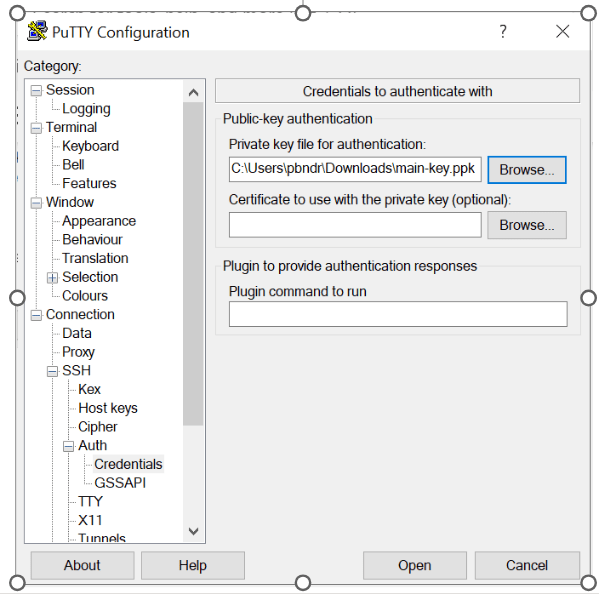
Now load the ppk file. Now you will be connected to device
FOR MAC
For MAc
We need to use
Chmod 400 main-key.pem
And then
Ssh –i main-key.pem ubuntu@34.226.80.181
Now you will be connected to device
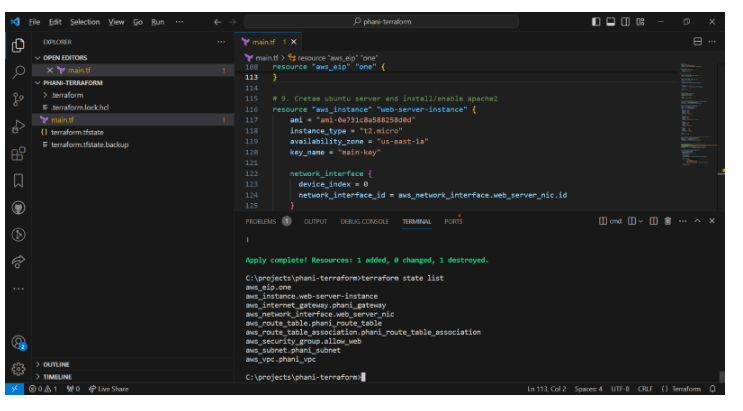
TERRAFORM STATE COMMANDS
If you want to see all resouces in command line quickly
RUN Terraform state list
Now you wll see all resources
to look into parituclar resource like aws_eip
>terraform state show aws_eip.one

We can see actual details like id , id instance, network interfae , ppublic ip and more
TERRAFROM OUTPUT
Everytime seeing state list and showing is bit typing
What about terraform do it when using terraform apply
We can use output and value to do what you want
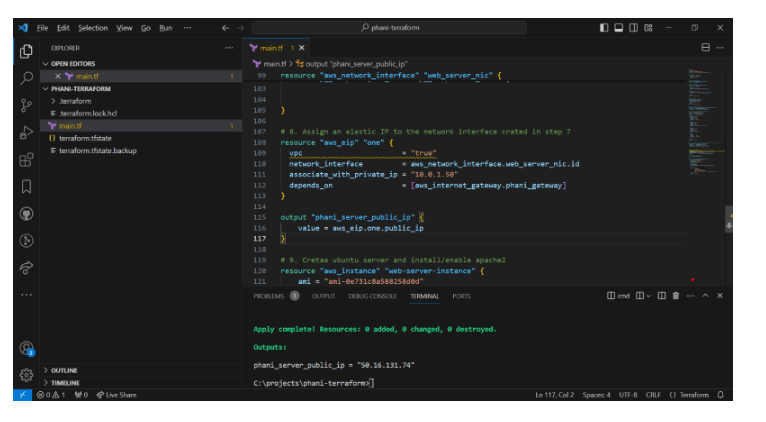
Here you can see , i created output which is like a log showing for
output "phani_server_public_ip" { value = aws_eip.one.public_ip
}
Output result as
phani_server_public_ip = "50.16.131.74"
You can also use terraform output to output all values for those resouces
Now we dont want to accidently delete or deploy
We can use terraform reresh whichrefresh the state
To delete paritcular resource we can use –
terraform destroy -target aws_instance.web-server-instance
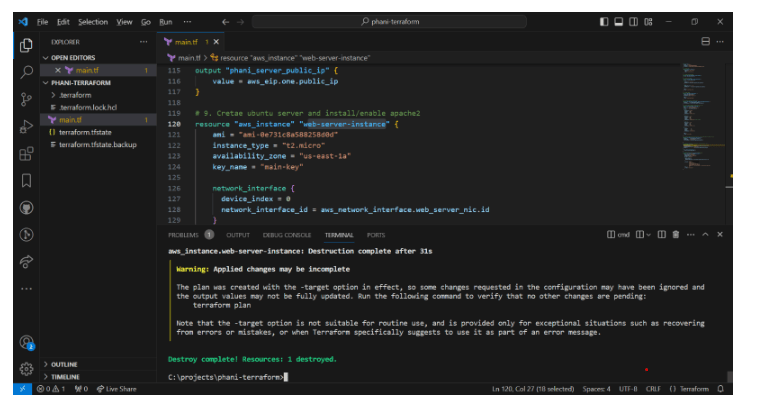
To create it back use
terraform apply -target aws_instance.web-server-instance
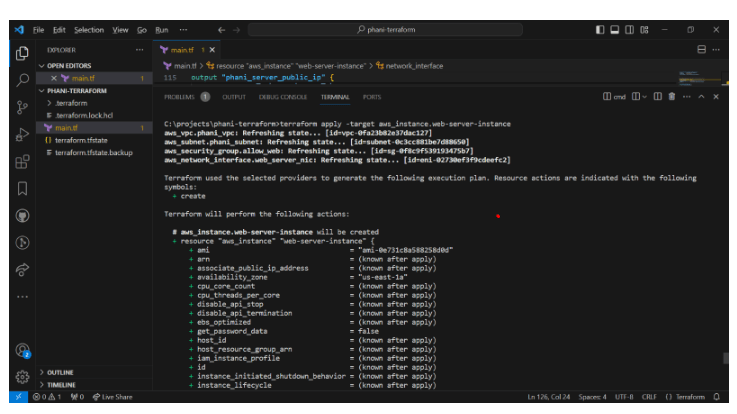
Now you can see only 1 plan created
VARIBLES
Here i creaed subnet_prefix variable and used in subnet
i created a file for variables trraform.tfvars where we use the variables
subnet_prefix = ["10.0.1.0/24"]
hope you enjoyed the article.
Code in my github https://github.com/pbndru/Phani-Terraform/tree/main